


How to Compare PCB Design Schematics in Altium 365

A design project doesn’t appear out of nowhere. The design process spreads over time, and project documents change. Schematic documents gradually become more complex, new functional blocks appear, and already finished parts can be modified and updated.
The need for compare
When the project is released and a series of boards is manufactured, adjustments will probably be made and a new release will be performed.
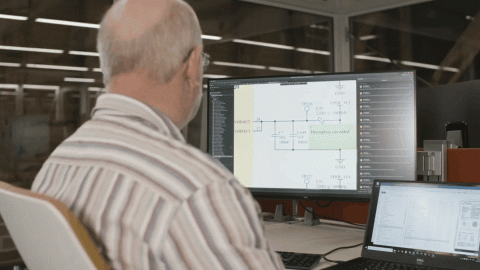
It is always useful to be able to track the evolution of a project. The Altium 365 platform allows not only to store all the intermediate versions of documents, but also has a powerful built-in tool for comparing documents, particularly schematics.

Project history
You can access project history directly in Altium Designer (from the Projects panel) or in the Altium 365 Workspace browser interface.

The project history is represented as an axis going from the bottom to the top that starts when the project was created and ends at its current state. The axis contains commits with a brief description of the changes made.
 How to launch comparison
Select the “Compare Schematic to” command and a commit you want to compare it to. It can be a previous commit, or any other commit.

After selecting an option, a web page with comparison results being loaded will open. You can either wait for the operation to complete or simply close the window. The results will not be lost - you will receive an email that will contain a link to the comparison result page. The process of generating results may take some time!

In case you decide not to wait for the result right now, you will receive an email with a link:

Comparison window overview
The comparison page consists of two main regions: the Differences panel where all changes are grouped and listed, and the main viewing area with graphical representation.

 Changed component example
Let’s take a closer look at the description of one of the differences - component replacement
 Changed net example
Example with changes in one net:

Detailed description:
- green “+” - pin is connected to the net
- red “-” - pin is excluded from the net
Pin designations are clickable links!
Visualization of changes
The green objects were added, the yellow ones were edited, and the red ones were deleted.
In addition to the detailed text description in the Differences panel, the visualization of these changes is also very interesting.


Crossprobing
When you click on an object in the graphical field, it activates the corresponding line in the Differences panel.

Text search
There is another interesting feature. It is possible to perform a text search for the content of modifications in the Differences panel.


关于作者
相关资源
相关的技术文档
从设计到发布,全程无阻碍
- 让评审始终关联到正确的版本
- 减少交接中的混乱和返工
- 更早发现采购与发布风险
- 可独立工作,按需共享
开始使用
Thank you, you are now subscribed to updates.

 沪公网安备 31010502006411号